Ignite 2018 Scheduling tips
There are SO many sessions to try to reasonably sort through for Ignite this year & WAY too many topic areas that I care about. Happily, everything happening at Ignite, other than the social events, is being recorded and will be made free via TechCommunity. Microsoft is actually streaming all of the sessions live for people who are members of TechCommunity as well, so this post doesn’t just apply to those attending in person because the issue is how to figure out what to see live.
This post may not be the most popular with the Ignite Events team, because they use the registration numbers to ensure that they plan the rooms appropriately, but here is the workflow that I have figured out for me. Since we are less than a week away from the event I figure they won’t be too fussed over it, so here goes:
- Login to the Schedule Builder
- Use the Learning Paths to find sessions
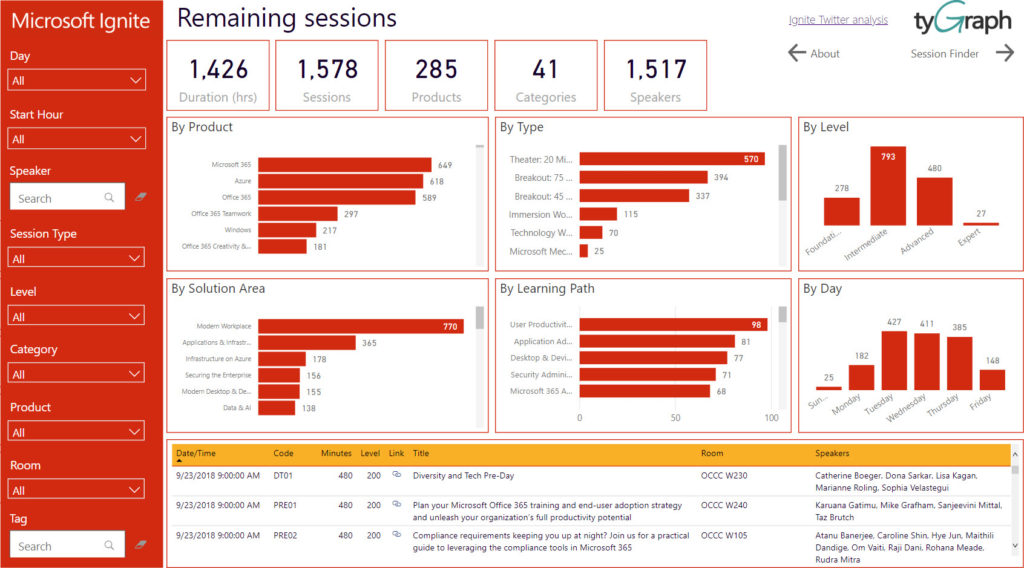
- Visit the TyGraph Ignite Power BI Schedule viewer and find the rest of the sessions that you will want to attend. This is MUCH easier to use than the regular schedule builder. The only downside is that you may end up clicking on things that you are already registered for.

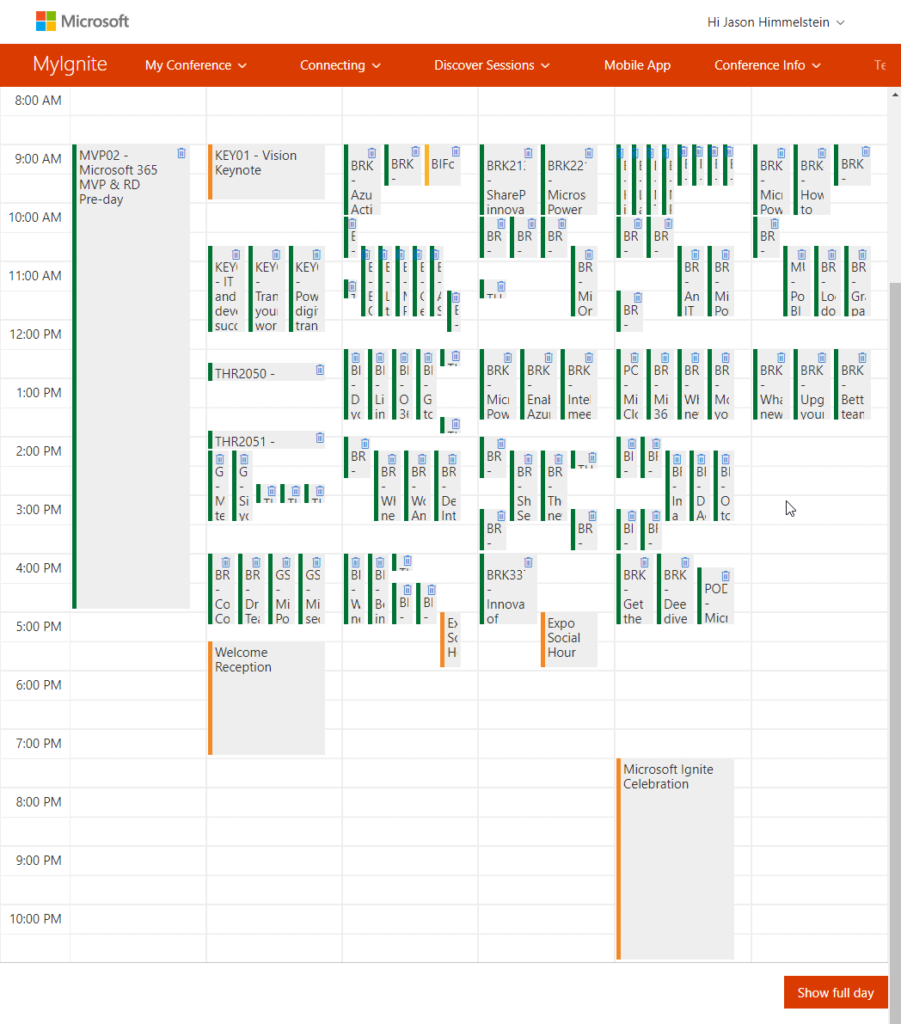
- Go take a look at My Schedule in the week view. It will likely look like mine. This step is just for funsies btw…

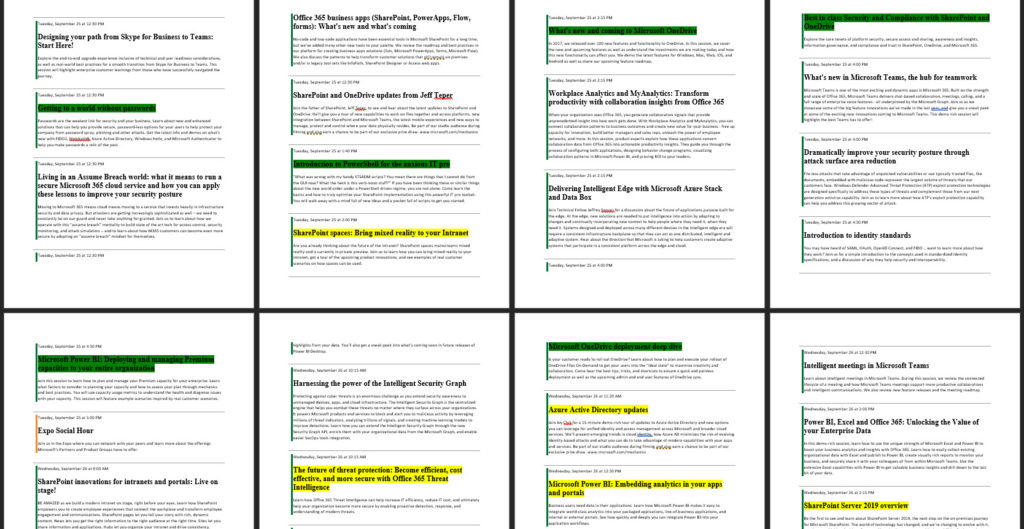
- Click on the Trip Report at the top left of the week view. This will download a massive Word doc that will let you review all of your sessions. Put this in OneDrive and then go through and review the sessions. I personally highlight in green the sessions I am going to go to as primary and in yellow as the backup in case a session is full or just turns out not to be good for me 10 minutes in.

- Download the MSFT Events mobile app and then watch Daniel Glenn’s tutorial about the app. At 2 minutes and 10 seconds into the video, Daniel is going to give you the GOLDEN TIP on how to add things to your calendar from the mobile app with just a click. This is per session, but it is a helluva lot better than having to add a ton of stuff to your calendar manually.
- **WARNING** This only works if you are using the native calendar.
- I use two-factor auth in Exchange Online and the native iOS calendar doesn’t support it. I had to do this ugly workaround, but it worked:
- Sync the item in the MSFT Events app
- Open the item in the native iOS calendar and switch the calendar it belonged to over to my Google Calendar
- Subscribe to the .ical for my Google Calendar in Outlook
- Copy the items onto my Exchange Online calendar
- Put on your comfy walking shoes and enjoy the show! My post before Ignite 2016 in Atlanta still has some good points about prepping for the conference as an attendee: https://sharepointlonghorn.com/7-things-to-think-about-when-attending-microsoft-ignite-2016/
Be sure to come to see me on Tuesday at 140p in Expo Theater #1 for “THR1067 – Introduction to PowerShell for the anxious IT pro” & on Friday at 1045a in OCCC W222 for “MUP2003 – Power BI meetup” with me, John White, & Reza Rad. You can also stop & visit Rackspace at Booth #140 for your chance to unlock the box and win a prize.
See y’all in a week in Orlando!
UPDATE: (09/18/2018)
After a bit of tweaking I found that if I choose to invite myself to the event when I open the item, rather than changing the calendar it belongs to, I get a calendar invite that I have to edit the title of to remove the Jason Himmelstein invited you to “Session X” part of the session title and I have a valid calendar invite that will get updated if the app pushes changes to my iOS native calendar. It also stores your email address after the first time typing it, so it makes a boring, repetitive task pretty quick. In the end, I used the web-based version to make this even easier. Thanks, Anna Chu for pointing out that the mobile app can update the event!
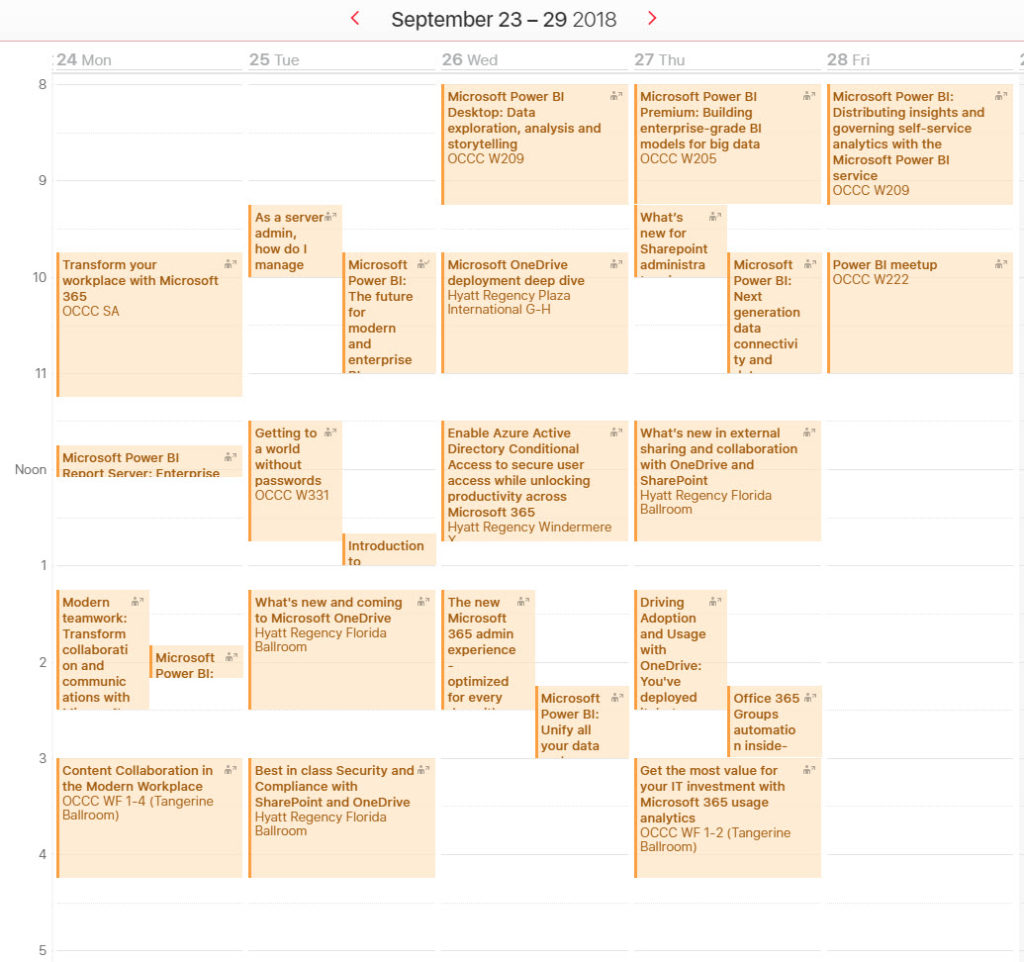
Wondering what I ended up picking? Here is a quick view:

